
Here we go. The last part of making the custom pattern. You’re going to need a roll of paper. I’m using an inexpensive roll of art easel paper from IKEA. You can use freezer paper, craft paper, Swedish tracing paper – whatever floats your boat. If this is something to be done again and again, Swedish tracing paper or brown craft paper is more long-lasting. I don’t use freezer paper anymore, and this is a one-trick-pony for me, so using the paint roll was the best option for me.
You’re also going to want a few more colors of pens/pencils that you didn’t use in your design.
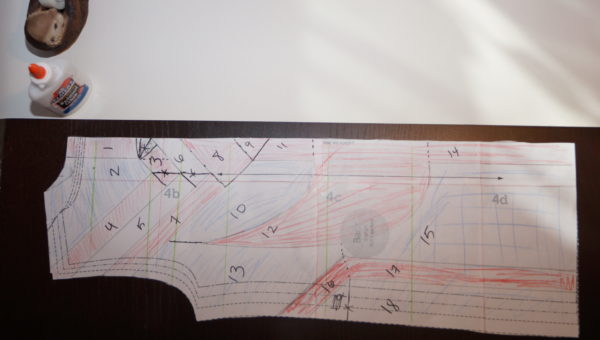
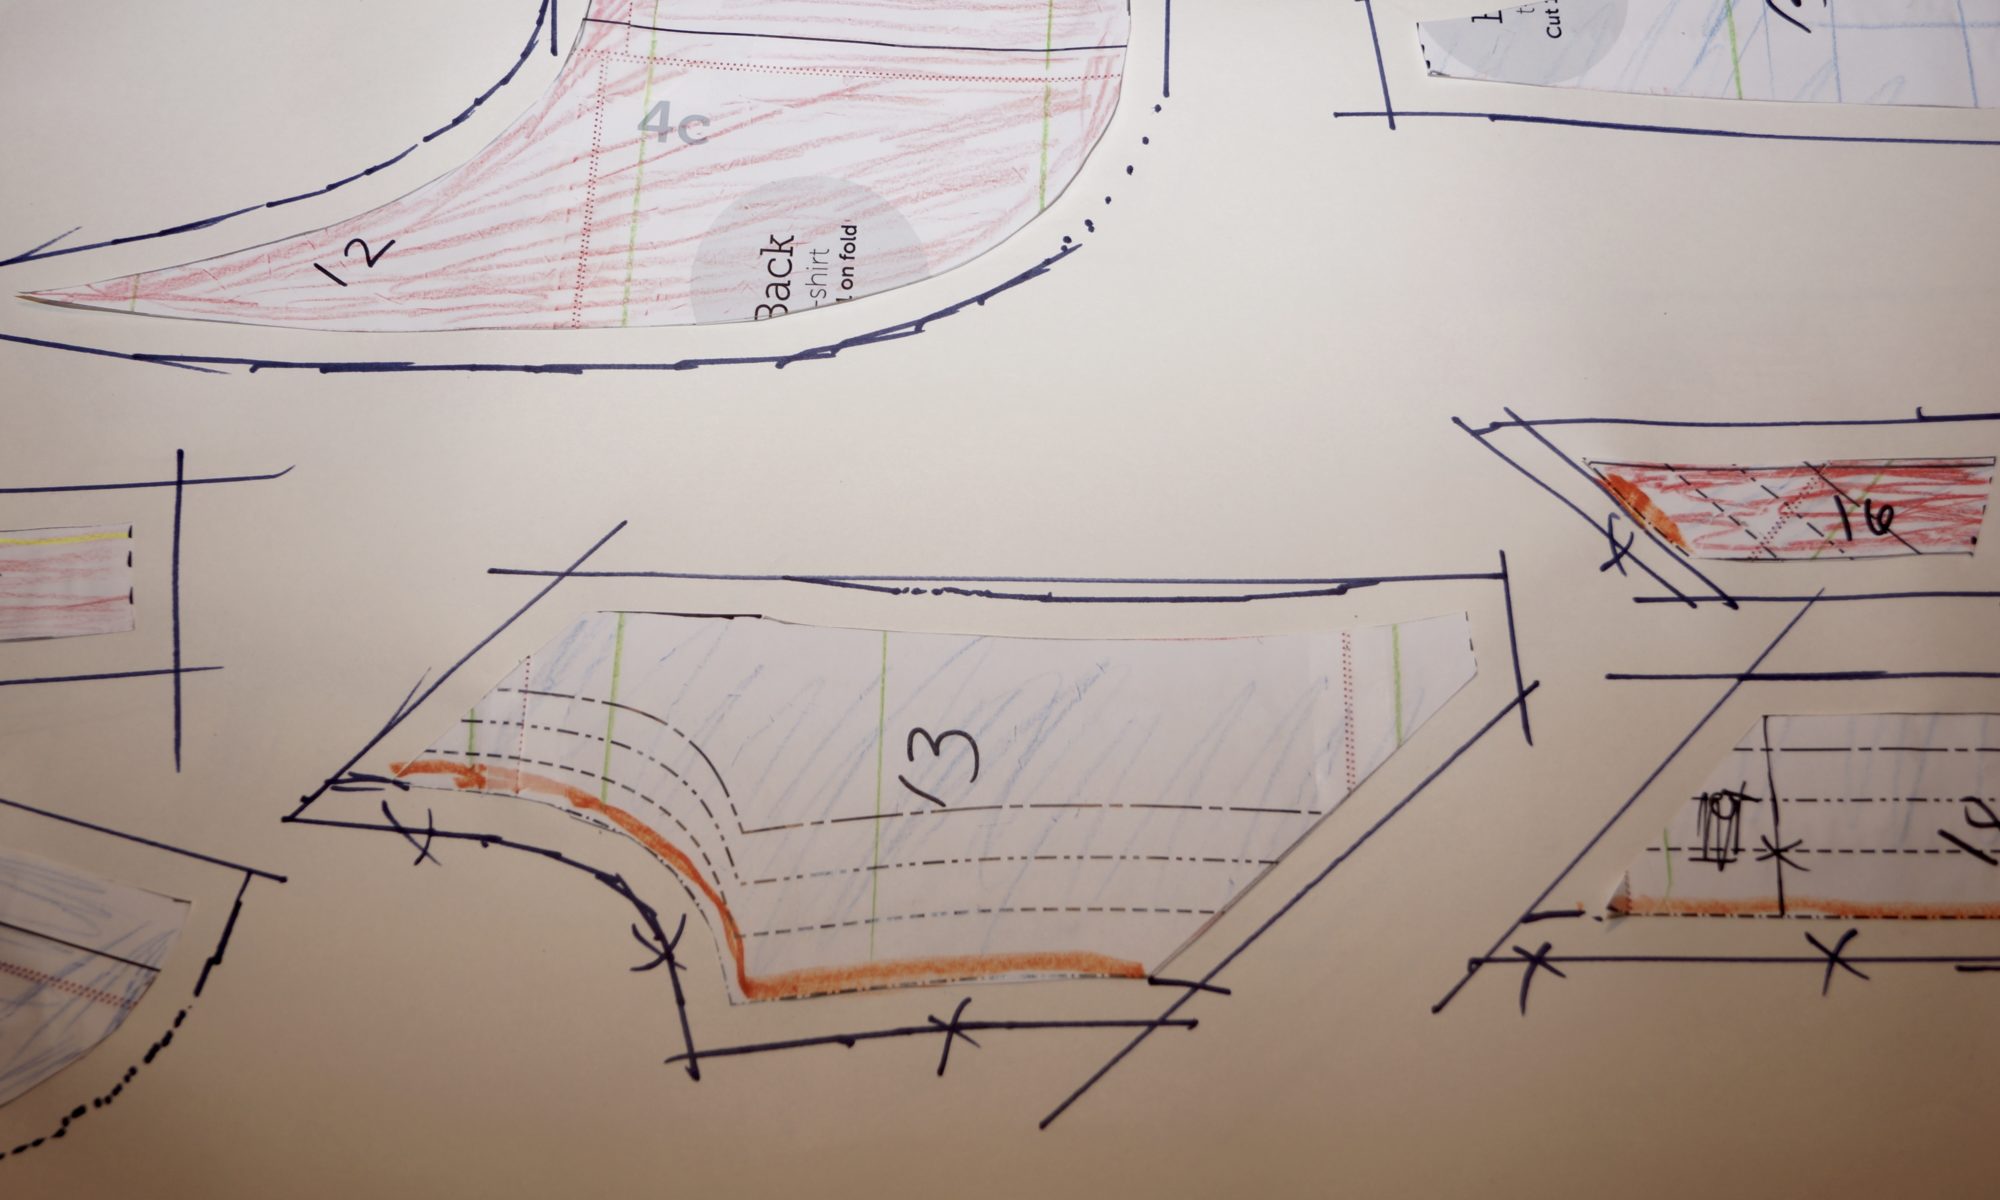
I used a black Sharpie to cut my piecing lines. Naturally, I edited as I went x-marking out lines I decided against. I numbered my pattern pieces so that when I come back to this photo later with the pieces, I can see where it goes. You’re not going to remember all of your edits, so make sure you take a lot of photos BEFORE you cut, take notes if you need, etc. There will be edits on-the-fly as well…the better organized you are, the better you’ll be prepared.
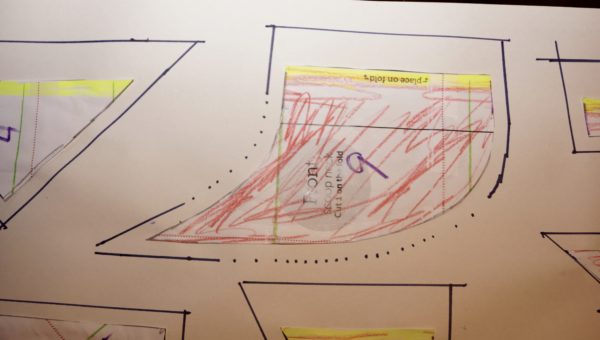
I drew green lines across all of my pattern before cutting into pieces. These green lines indicate the direction of greatest stretch. You want the greatest amount of stretch in your fabric to go around your body, not up/down. This will be key in order to not get weird warping, and to make sure the garments will stretch around your body. Unlike in quilting, which lays flat, this will be 3-dimmentional around a body and needs to be designed that way. Quilting, you can make a bunch of strips on-grain and cut-to-length. Apparel, the grain must be in line with the body.
I used a yellow highlighter for areas I wanted to add extra seam allowance, such as the middle front of the top, so I could have enough seam allowance to add a zipper. I cut the pieces and glued them to the roll of paper. Using the edge of a ruler against the pieces, I added 3/8″ seam allowance for most edges, except the yellow, I added 1 full inch. Curves are tricky – I favor pivoting the ruler around the edge and making dots to connect. You CAN do the trick where you tape 2 pencils together and it will be about 3/8″ between each leaded point….but there’s a LOT of tracing here, and I wanted to be more accurate. There are also specially made tracing wheels and all that jazz out there, but I chose not to go that route.
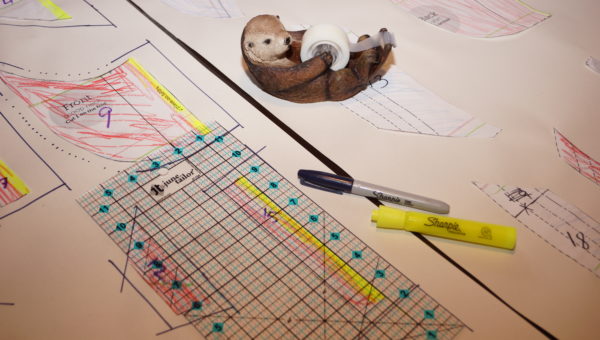
I had my tape handy for any edits or pieces that needed more securing.
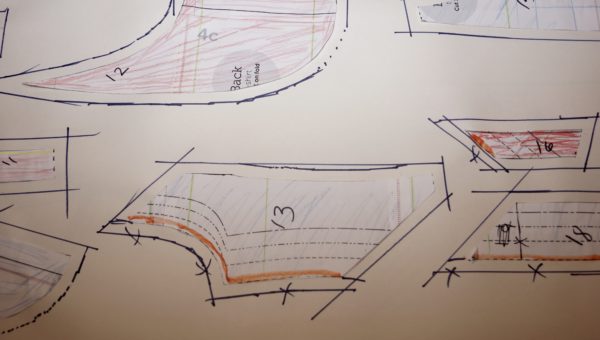
A mistake I made was forgetting to mark edges that already had seam allowance. Luckily I caught it before I got too far along – so don’t do as I did. Use another color, like I used orange here when I caught it, and mark edges that already have seam allowance.
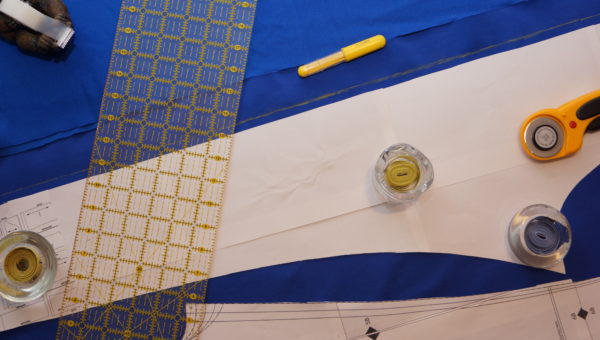
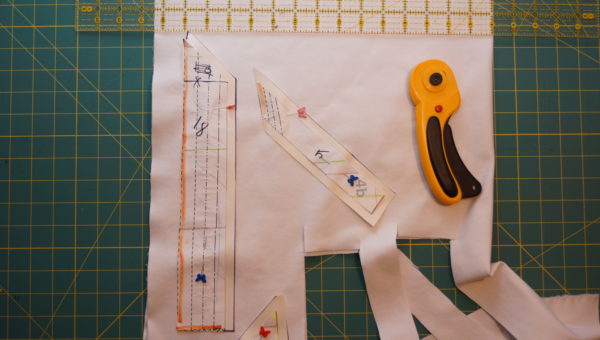
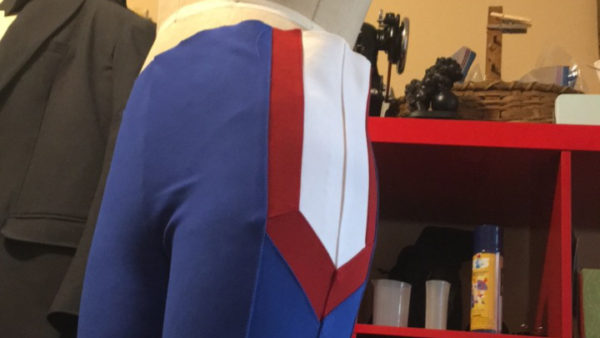
Another option is to add seam allowance as you cut either by cutting with a ruler guide, or marking directly on fabric as I did above on my leggings pieces. This works if you only have a few things and you’re not going to be interrupted in the middle of all of your work because it’s difficult to remember all the details on the fly – and cutting is permanent. So…you make a mistake this way, you can’t go back. I don’t recommend it, in general. This was for an example, and I knew during cutting the leggings, I had the time to get it all done at once. Even then…I did make a mistake, but had enough fabric to correct it. Barely. It’s better NOT to leave things to chance, or to memory in this case.
Here is why we put the green lines of grain/stretch on the pattern pieces. Would you remember which piece goes which direction once you have them cut out like this? Not likely. And more importantly, why would you want to? For the red, I had enough strips that I cut a couple yards on grain, and a few on the 45-degree (remember I made all angles 45-degrees to be easier later?), and lined up patter pieces on the corresponding grain-strips. I have fewer patterns in the white, so they got cut out one at a time. All pattern pieces are cut on the doubled fabric, so I’ve got my mirror images for left/right sides cut at the same time.
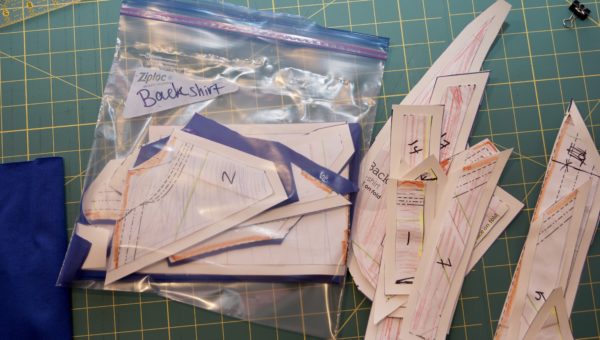
I highly recommend you stay organized. Something you learn in quilting is the magic of ziploc bags. Keep your corresponding parts together. I have a bag for sleeves, one for shirt front, one for shirt back, and one for leggings. Pin your pieces to the paper pattern pieces and keep them organized. Take a lot of photos.
Next is piecing it all together.
Continue to the Final Post.