
The Chevron Baby Quilt and headboard piece were so easy and so malleable for my needs, I decided to go ahead with making VIP Nephew Liam a twin size in the same pattern. I bought the fabric already, and just had to commit to how it was going to go together.
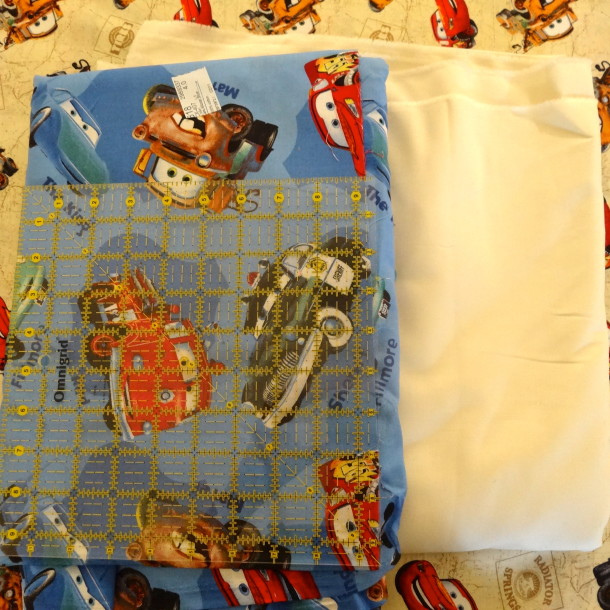
Here are some close ups of the fabric with the 9.5 inch square ruler laying on top.
Liam’s mom mentioned she liked the tan fabric best, and from an “OMG that thing is going to be in my house” stand-point, I gotta agree with her. That’s also some of my reasoning behind the chevron pattern – breaks-up the crazy Disney a bit for the adults and leaves a bit of room-to-grow for Liam.

That, and the blue cars print is just too big to be cut up. By the time it’s in a 9 inch right triangle, the cars will be too cut up to tell what it is.
This will leave me with 4 yards of the blue Cars fabric, and I have 2 yards of Cars 2 fabric. I will use these to make the backing to the quilt. I think it will make for a fun, reversible look.

For me, it’s easier to do things in batches. I cut aaaalllll the squares from both fabrics first. I pressed and stacked aaaallll the squares. I marked my centerlines on aaaalll my Kona Bone contrast fabric. Is it important to use REAL Kona solids? YES. I promise a rant on that…probably coupled with ‘why you press to the dark side, Luke’ reasoning and all that. But for now: pressing, stacking, marking, matching right sides, pressing, pinning, stacking….

Pin, pin, pin…stack, stack, stack. This fabric is not prewashed since I knew I would be using it for a quilt, and when you press fabric with the ‘sizing’ still in it, they stick together a smidge which is helpful.

See….here it is. My stack of marked and pinned making its first go-through the machine. Sewn 1/4 inch on each side of that line. I just used a #2 pencil that I stole out of the pencil jar off of the big kids’ desk. It’s going to be cut, pressed towards the darker fabric and it’s done with such a light hand it will wash out the first time. No one will ever be the wiser. Except you.

I don’t normally pin, but this is for VIP Liam! I want to minimize the potential wonky quotient a bit and I’m not in a hurry – it’s not like there’s an impending baby as with the last one (I type that like babies don’t cook for 9 months.)
After being sewn, each square is cut apart and pressed open.

I cut them all first, then pressed them all. I’m fascinated by this batch method. Growing up (and still), my mom will generally make a few blocks at a time…tinkering with color and so forth. Of course, she’s making things like double wedding rings, bear paws, double Irish chains – I have two separate appliqué quilts from her on my walls alone! So…yeah. I have BIG shoes to fill some day.
Okay, back to topic. Pressed open and ready to make blocks.

Everyone has their preferred method, but I’m not so hot at doing long strips and piecing the strips together – I prefer the traditional method of increasingly larger blocks. So, I set my squares into the block shape. This is going on a batting that is a 72″x90″ twin – that doesn’t quite divide out into squares so I figure I’ll make an 8×8 large 4-square and have to add top/bottom boarders.
Yes, I figure out the correct math right at this interval. No, I’m not going pro this month.

Sewn tops….

Sewn bottoms…

Press and stack, press and stack, press and stack…
Okay, now a little time consuming part. This is the point where I attached the top and the bottom and took extra care to nest the seams – making sure they’re perfectly lined up and the seams were going the opposite direction. Yes, I had to visualize this when pressing my stacks to know before hand and press opposite ways.

I also took this point to trim all the dog ears or long points from the seams. It seemed inefficient to do it any earlier and to wait any longer would make for yucky chunky wonky nasty seams.

Stacked, pinned, and ready to make blocks.

and….REVEAL

Oh yeah. Not bad for a President’s Day afternoon.
AND….here is one of the many reasons I always make extra…I know I’m going to screw up.
I wonder how many quilt blocks were invented this way….

I knew I pinned a center with 2 seams going the same way and I assumed I screwed up ironing. Ugh. Luckily, it’s only one and I have something like 5 more extra.
I mean, I meant to do that for a throw pillow. Yeah! That’s it!
To be continued….