
I have put off making a bag for….well, I bought this Valori Wells book in, I think, 2008. I actually bought it AT the Stitching Post in Sisters, Oregon. I <heart> Valori Wells. The fact that she’s an Oregon native too is an added bonus.

I bought a TON of Star Wars fabric to ‘make something,’ when I came across this Farmer’s Market tote from one of my favorite blogs, Fresh Lemons. The Valori Wells bag and the FL bag are similar in pattern, but the FL version is a bit smaller, and, HELLO, a fabulous tutorial will get me out of procrastination mode. You know those projects you mean to do, but get caught up in everything else? Yeah. It’s 2013 and I just now got around to my first bag.
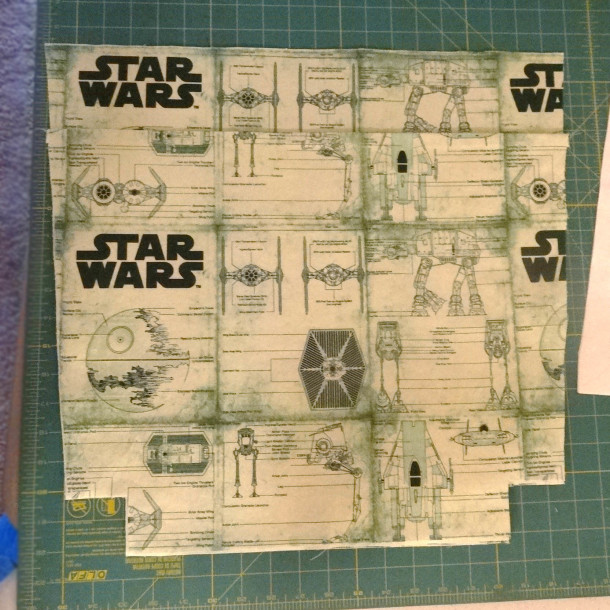
This is a really cool Star Wars green schematic fabric from Camelot Fabrics. I can’t find it online anymore!!! I think if you find some of their licensed fabric that you like, you have to get it – it goes so fast!!! I wish I had more of this one, in fact.
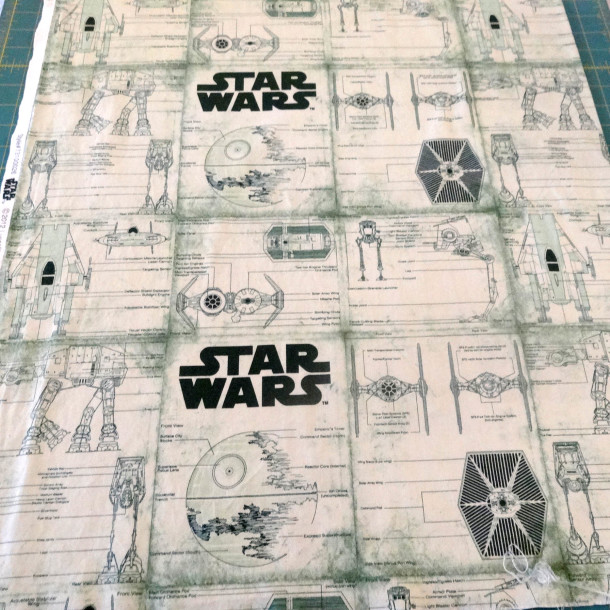
That’s a full shot so you can see the print block in full, albeit a bit blurry.
Here’s a close up:
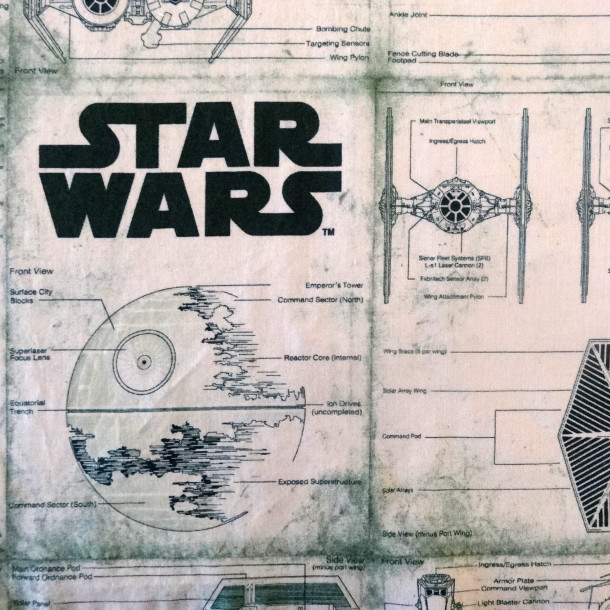
I don’t think it gets cooler than that – and the green makes it look like it came from an old school plotter. I love it.
I’m not going to reinvent Faith’s tutorial here for you, but just give you a few shots and my notes as I used a single outside fabric.
I cut out all of the pieces – I love the Fresh Lemon’s spreadsheet section with the quantities of each piece and size.

I’m a fan of using the first cut as the template – so I did that instead of measuring every time. Fewer opportunities for ‘user error.’

I went to The Mill End store for the Pellon stabilizer Faith listed, but had to get a substitute. The Mill End on 99E in PDX has ladies/gents that are very experienced and I trust their judgement. I’ve read scathing reviews of the store, but I assure you, a little bit of manners go a long way and they are a treasure of tips and help.
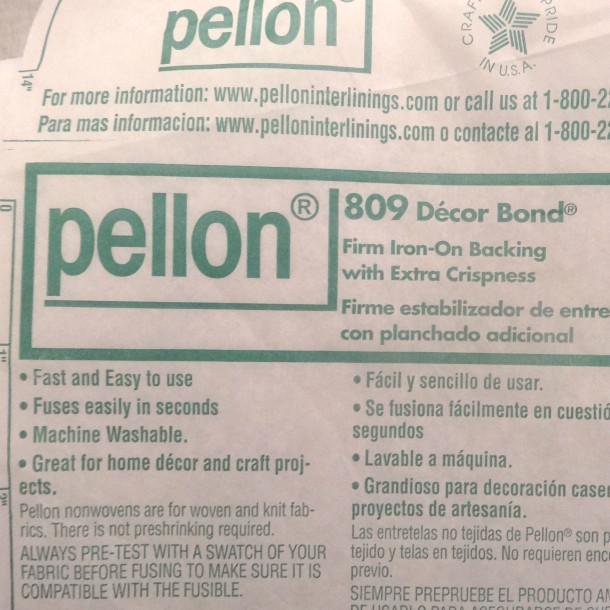
The label makes it sound like it’s super stiff, but it was just fine. I kinda suck at iron-on stabilizers – iron on too long, or not long enough, but I did pretty good. I just used a damp kitchen towel for my ‘ironing cloth.’
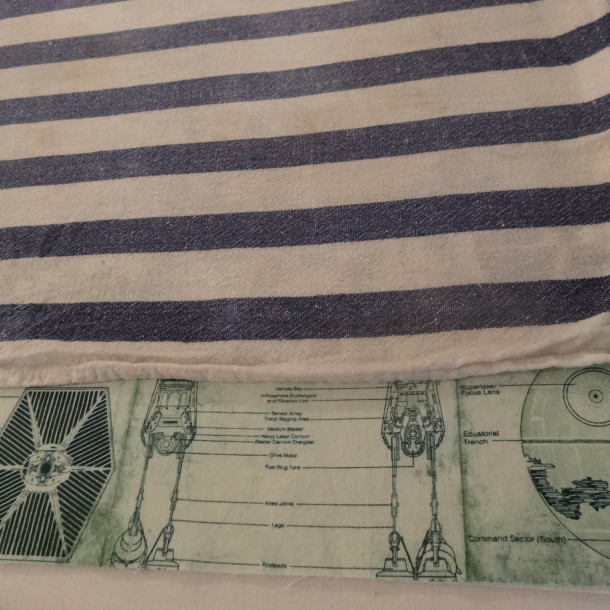
As mentioned, I used all one fabric for the outside….which makes the pocket hard to see and not very interesting.
So, I added a little trim in Kona Bone that I had leftover from labels and quilts, and it looks much better.

This is me getting too distracted with the dang camera while I’m sewing and just NOW realizing I sewed the liner to the wrong side….

And this is me having sewed it to the correct side. I took a photo because I wanted to show you that instead of leaving a hole in the bottom of the lining as in Faith’s post to turn it all right side out, I prefer to leave it at the top where I’m going to top-stitch it back down anyway. Your mileage may vary, but that is my preference.

I just want to point out here that I prefer the Fresh Lemons method of sewing the gusset to the Valori Wells method – I just prefer the pattern already cut. Again, less room for ‘user error’ on my part.
Valori Wells version:

Fresh Lemons version:

The pre-cut corner is just easier for me to visualize when I’m there to sew the gusset closed.
All of that said, it was a very easy tutorial. VERY easy. And how cute is this?


Here’s a photo of it next to a Krogers/QFC bag so you can get some perspective. I think they look a little small in Faith’s much prettier shots….I don’t think you can quite tell how substantial it is…so I put it next to a typical bag:

Here’s a shot of the inside with a bit of a teaser of more to come! Sure, the birthday boy is a bit small to carry around his new bag for now, but I happen to know his mom goes to the farmer’s market in the summer, so in the end it will benefit him!

So, that’s it! My first bag! AND it is now a rare Star Wars fabric bag! That totally ups the geek cred.
Your bag turned out great! This is the first one I’ve seen from the tutorial and I’m just happy as a clam. 🙂 (I was sweating a little as I was reading that you were using such special fabric…phew!) Thank you for posting – love it!
oh, thank you! I’m very happy with it. I made the straps a bit longer for the recipient to tie to a stroller or cross-body carry as she has a baby, but other than that and adding the trim, I followed your instructions and the only snafu was my own of sewing the lining in wrong the first time. It really was easy to follow. Thank you!
VERY cool (Star Wars nerd, can’t help but love that pattern). Also, *ahem* You could make a matched set of sorts…
http://camelotfabrics.com/starwars2-schematics2.html
Is that a request?
I think Bolt on Alberta is carrying that print actually….
LOVE this! I usually stick to quilts, but this makes me less afraid of trying a bag. The fabric is fantastic.
Melanie, I know what you mean – it took me 5 years to really commit to doing a bag. And now I wonder why I was afraid! Well, the combination of the stabilizers and the larger 3 dimensional sewing is scary, but pressing those little square seams that you’re working now to match up to a full quilt is so much harder!