As I was making the last round of Star Wars goodies, my daughter asked for some of the green schematic fabric for herself. At that point, it was already almost gone and was sold out everywhere. Ooopsie. I did manage to save 1 print panel for her…meaning, one block of the print as it is repeated on the fabric.
I picked up some clearance frames at Target thinking this would look pretty cool.
Star Wars Framed
Dummy me. Do you KNOW how many D-rings I’ve put in frames and how many photos I’ve set while working for photographers? I know, you don’t, but trust me when I say more than a life time’s worth.
I didn’t even think about it when getting these frames.
I’m slowly, begrudgingly, trying not to kill the cheap particle board frames….eventually, I’ll get these up. But please, be warned, keep this in mind when you see those clearance items at Target and you think, “It’s like I’m losing money if I don’t buy it!!!” So far, with my time included, these are very expensive frames.
This post is 50% to show you ideas for licensed fabric and 50% me tootin’ my own horn. I loved these projects so much I picked up 4 yards of the Star Wars schematic fabric in blue/black today from Cool Cottons.
Here’s a gallery of the entire Brody and Jack projects. Enjoy.
Front 1Back 1Front 2Back 2Front 3
This is one of my favorite backs….I’m Watching You….
Back 3Front 4Back 4Front 5Back 5Front 6Front 7Back 74 packEnsemble 1Ensemble 2Ensemble 3Brody’s Power PackJack’s Birthday Bucket
I haven’t always had the best of luck with my Steam-A-Seam adventures, but I was determined to make it work for the sake of Star Wars, and the fact that I would be giving them away therefore not have to deal with the aftermath of failure. Wait….they know where I live…damn!
Out of that first disaster applique craft, I did have one survive without me having to stitch it down. It happens to be the Star Wars onesie. Coincidence? I think NOT!
Star Wars Baby
It’s a bit bubbly and would be better stitched down, but that’s 1 out of 4…that’s a 25% success rate…whatever…look, CUTE BABY!!!
Moving Model
I’m just following modern business culture – when there’s failure, distract!
Not to disappoint you, as per usual, I do everything in Costco amounts – including onesies:
Pile’o’onesies
One of the new onesies was pre-ruined out of the package! Someone at Target was a little too excited to restock shelves. I can’t get upset about it, though, when I’m technically planning to patch perfectly good onesies.
Box Knife Bastards – My New Band Name
My, how my art board has changed over the years. I cut out the images I wanted from the fabric with great meticulous detail. No, not really. I just cut them out, stuck them to one side of the Steam-A-Seam2 in the most efficient arrangement I could take the time to bother with, and cut them out.
Art
Being that my “canvas” is a 12 or 18 month sized onesie, I did check to make sure my images would fit.
My Artboard Circa 2013
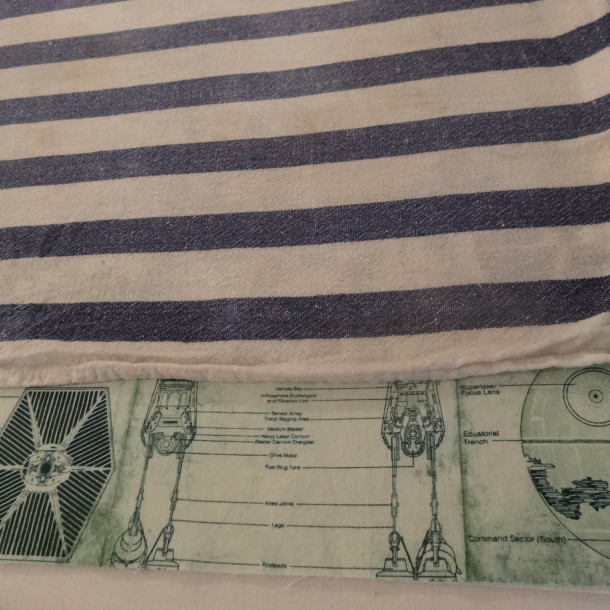
I spent more time making sure I really pressed these down. The Steam-A-Seam2 is this layer of gel-like plastic that takes effort to melt between the layers. I did much better this time. This is a picture of covering the box knife slash that went through the back of the onesie too. The selvage is just too funny not to use.
Creative Patching Back
And the Death Star right on the Juice Belly? Yes please.
Creative Patching Front
I ironed all the fronts and backs on, then piled them up to Ms. Viking and zig-zag stitched them all down just to keep them extra, extra secure.
Batch Sewing Onesies
Hopefully you have a nice, narrow free-arm option. The onesie is already sewn together, so moving around the knit fabric without tweaking it too bad and getting the woven fabric stitched down one a baby onesie takes some manipulation. My machine is a ‘little bit of everything’ kind of machine, so works great for this, but your mileage may vary.
finagle
Tomorrow I will post photos of the whole thing – pants, onsies, Star Wars cute overload!
I have put off making a bag for….well, I bought this Valori Wells book in, I think, 2008. I actually bought it AT the Stitching Post in Sisters, Oregon. I <heart> Valori Wells. The fact that she’s an Oregon native too is an added bonus.
OhSewEasyLifeStyleBk
I bought a TON of Star Wars fabric to ‘make something,’ when I came across this Farmer’s Market tote from one of my favorite blogs, Fresh Lemons. The Valori Wells bag and the FL bag are similar in pattern, but the FL version is a bit smaller, and, HELLO, a fabulous tutorial will get me out of procrastination mode. You know those projects you mean to do, but get caught up in everything else? Yeah. It’s 2013 and I just now got around to my first bag.
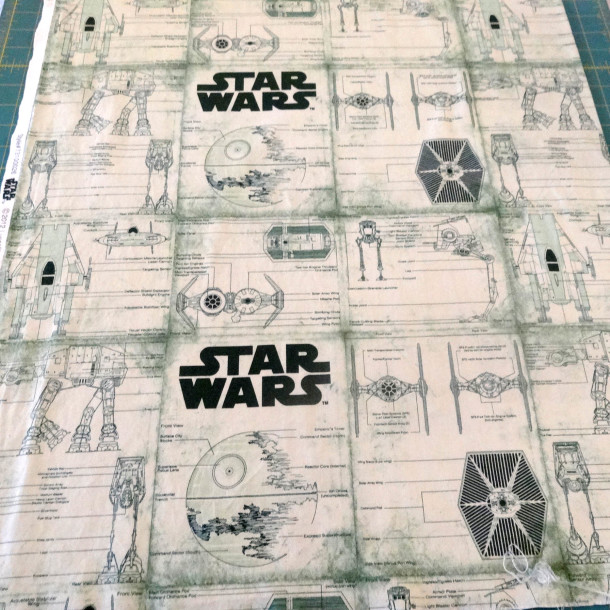
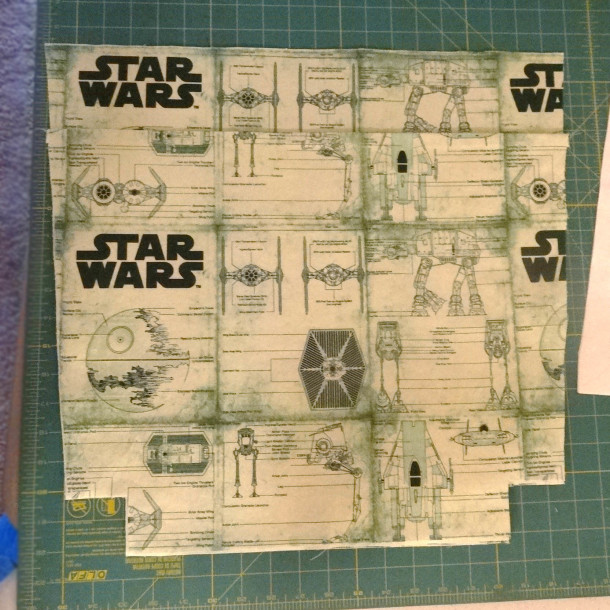
This is a really cool Star Wars green schematic fabric from Camelot Fabrics. I can’t find it online anymore!!! I think if you find some of their licensed fabric that you like, you have to get it – it goes so fast!!! I wish I had more of this one, in fact.
Star Wars Green Fabric – full
That’s a full shot so you can see the print block in full, albeit a bit blurry.
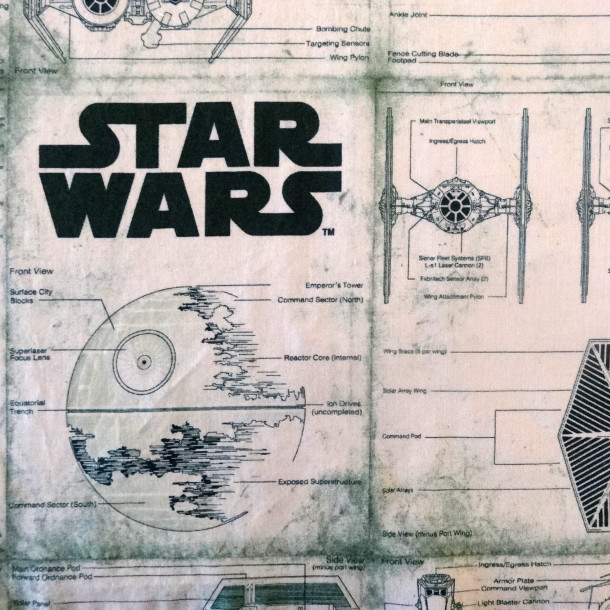
Here’s a close up:
Star Wars Green Fabric
I don’t think it gets cooler than that – and the green makes it look like it came from an old school plotter. I love it.
I’m not going to reinvent Faith’s tutorial here for you, but just give you a few shots and my notes as I used a single outside fabric.
I cut out all of the pieces – I love the Fresh Lemon’s spreadsheet section with the quantities of each piece and size.
Cut Pattern Pieces
I’m a fan of using the first cut as the template – so I did that instead of measuring every time. Fewer opportunities for ‘user error.’
Template
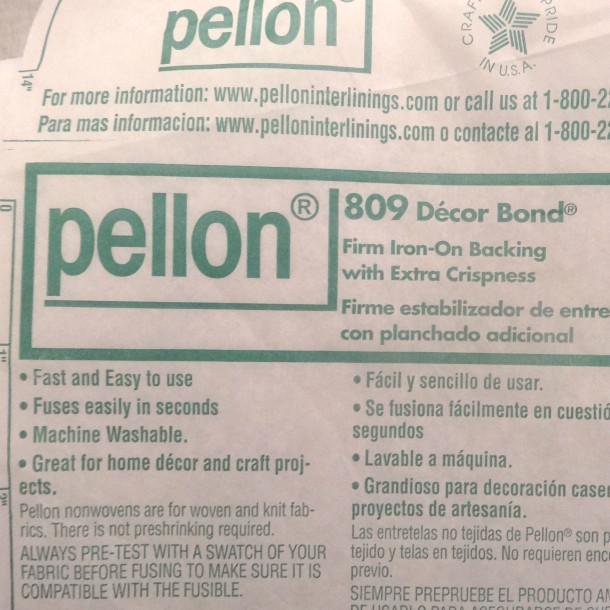
I went to The Mill End store for the Pellon stabilizer Faith listed, but had to get a substitute. The Mill End on 99E in PDX has ladies/gents that are very experienced and I trust their judgement. I’ve read scathing reviews of the store, but I assure you, a little bit of manners go a long way and they are a treasure of tips and help.
Pellon 809
The label makes it sound like it’s super stiff, but it was just fine. I kinda suck at iron-on stabilizers – iron on too long, or not long enough, but I did pretty good. I just used a damp kitchen towel for my ‘ironing cloth.’
Damp Dish Towel
As mentioned, I used all one fabric for the outside….which makes the pocket hard to see and not very interesting.
Pocket No Trim
So, I added a little trim in Kona Bone that I had leftover from labels and quilts, and it looks much better.
Pocket With Trim
This is me getting too distracted with the dang camera while I’m sewing and just NOW realizing I sewed the liner to the wrong side….
Wrong
And this is me having sewed it to the correct side. I took a photo because I wanted to show you that instead of leaving a hole in the bottom of the lining as in Faith’s post to turn it all right side out, I prefer to leave it at the top where I’m going to top-stitch it back down anyway. Your mileage may vary, but that is my preference.
Right
I just want to point out here that I prefer the Fresh Lemons method of sewing the gusset to the Valori Wells method – I just prefer the pattern already cut. Again, less room for ‘user error’ on my part.
Valori Wells version:
Valori Wells Gusset
Fresh Lemons version:
Fresh Lemons Gusset
The pre-cut corner is just easier for me to visualize when I’m there to sew the gusset closed.
All of that said, it was a very easy tutorial. VERY easy. And how cute is this?
Finished BagFinished Bag -Top
Here’s a photo of it next to a Krogers/QFC bag so you can get some perspective. I think they look a little small in Faith’s much prettier shots….I don’t think you can quite tell how substantial it is…so I put it next to a typical bag:
Perspective Shot
Here’s a shot of the inside with a bit of a teaser of more to come! Sure, the birthday boy is a bit small to carry around his new bag for now, but I happen to know his mom goes to the farmer’s market in the summer, so in the end it will benefit him!
Inside Bag
So, that’s it! My first bag! AND it is now a rare Star Wars fabric bag! That totally ups the geek cred.
That’s right. We are having Star Wars mania over here. We have Star Wars Lunch Boxes, we have Star Wars – The Clone Wars books, we have Star Wars coffee mugs (all got for a song on a zulily.com sale), and most importantly we have this:
Star Wars Mania
That’s right, people. There are over a half-dozen yards of Star Wars right there by Camelot fabrics. Oh, and that Pellon?
Bwahahahaha! You don’t know the power of the dark side! Er, sticky side…of Pellon…nevermind. Wait and see.