I don’t know what it is about moving into a new rental, but I always go through the same series of steps:
- I don’t do anything to make it “home-y” because it’s temporary.
- I get tired of it not being home-y because it’s boring so I do a few things to make it better.
- I get really frustrated because I should have just dug in and made it great and now I’m going to put in the effort.
I still will not paint, because I know me…and I know when we leave I’m not going to want to re-paint. I’ve done that and even a little Chinese red guest bathroom is a monumental chore to turn back to white when all you want to do is move on.
These next few months are going to have a lot of ‘fixing the home’ thrown in with my usual sewing/cooking/family adventures.
Today is fabric starching. This is an old, blurry, worn out photo of me in 1979. The wall behind me is not wallpaper, but starched fabric. I’ve mentioned before, my mom is amazing.

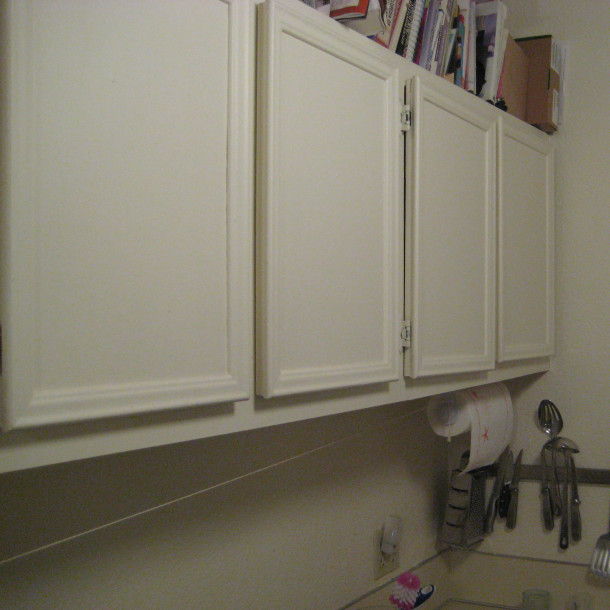
First, start with boring, ugly, beat-up cabinets. Give the surface a good wipe down just to make sure your starch will stick.
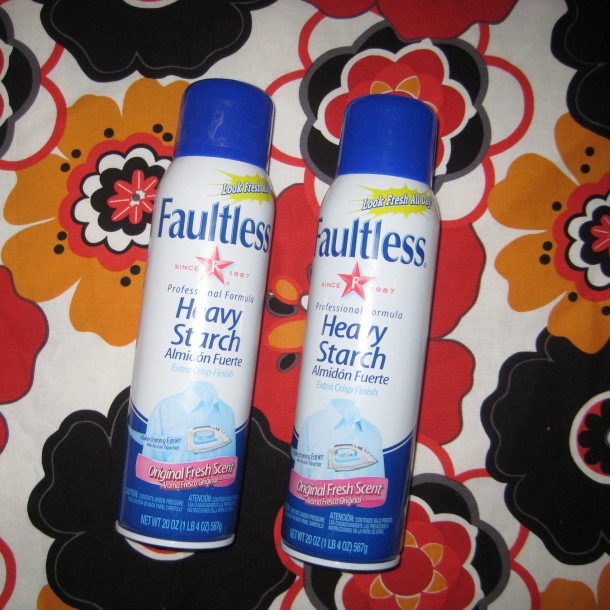
I went to Target to get starch. I wanted to get the liquid in the jug kind to dip the fabric, but they didn’t have any. These 2 cans of spray starch, little did I know, would be even better. They were priced at 95 cents each and had 55 cent coupons on them, so this was less than a buck. I’ve read tutorials where people used cornstarch but I have a healthy fear of insect infestations. Food-based starch = potentially nasty bugs. No thank you. Your phobias may vary.
I used about 4.5 yards of fabric for a mid-sized apartment kitchen. So, at Joann’s, this Alexander Henry fabric is about $13 a yard, and with a 40% off coupon making 5 yards for $25.

I highly recommend pre-washing your fabric. This will help prevent any color bleeding that may occur and put you back at square one for repainting when you leave. Also, it will help prevent shrinkage as it dries after starching.
Measure once, then measure again. Write it down unless your brain has fewer holes than mine.

Measure every cabinet. You will be surprised how one is actually a half an inch larger than the one next to it. Superior architecture in apartments and all….my little cabinets over my fridge are a half an inch smaller in width than the little ones over the stove vent. I would have loved to have been at the planning meeting for that one. No, not really.
I didn’t take a photo of me cutting the fabric…I’m pretty sure you can figure out how to cut fabric…I used my mat/rulers/rotary cutter because I’m slick like that, but a pair of scissors and squaring up on a book should do just fine. You’re going to trim the fabric to the cabinet later anyway, so don’t sweat it too much.
Spray the cabinet on the top lightly to ‘tack’ the fabric to it so it will sort of hold…and get ready for your house to smell like “Fresh Laundry Scent” aka turn on a fan.
Hold the fabric and spray the sh*t out of it. Really saturate it. Like…dripping off the cabinet kind of wet.

Smooth fabric out and down as gently as possible. I tried using a sponge, but ended up preferring my fingers to smooth out the bubbles versus the lumpy texture of a million layers of apartment paint. Also, I found the sponge stretched the fabric too much. I did use the sponge to dab the excess starch and catch some of the drips.

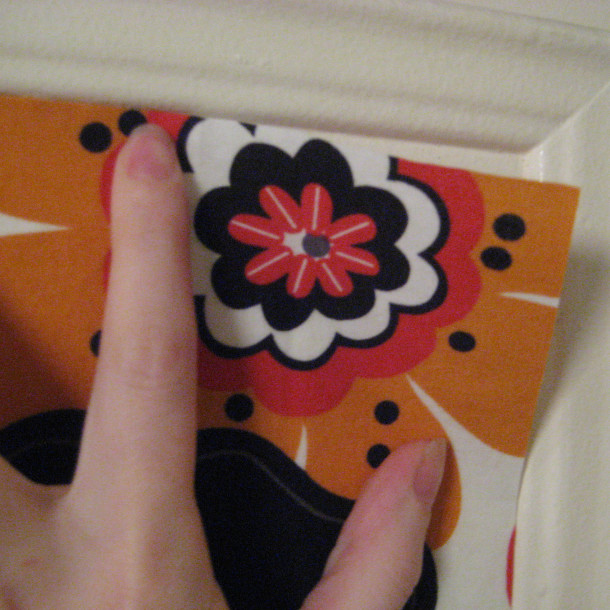
Like in this fuzzy picture, use your ridiculously long thumb nail or a butter knife to press into the corners if your cabinets are framed like mine. If not, ignore this part.

You’re going to have some overlap as the fabric gets wet and stretches a bit. This is an easy fix. Depending on the quality of your fabric and whether or not you pre-washed it, it will shrink up some after it dries. The rest is easily taken care of.

When it’s dry in a couple hours, you are going to take a MF-in’ SHARP box knife and slice the fabric excess. Unless you’re afraid of marring the cabinets…then just pull away slightly and trim. Don’t worry….it’s ok….just wait and see….

I went through 2 blades, both sides. The fabric peels away SUPER easily.

And whether you pull away and cut or use this method, you’re going to get some fray and peeling. It’s ok. Don’t freak.

You were a genius and got the uber cheap spray starch, right? Right. So just spray that little corner, dab it back down, smooth any threads, and you’re golden.
Check on your adorable helper and make sure they’re doing alright.

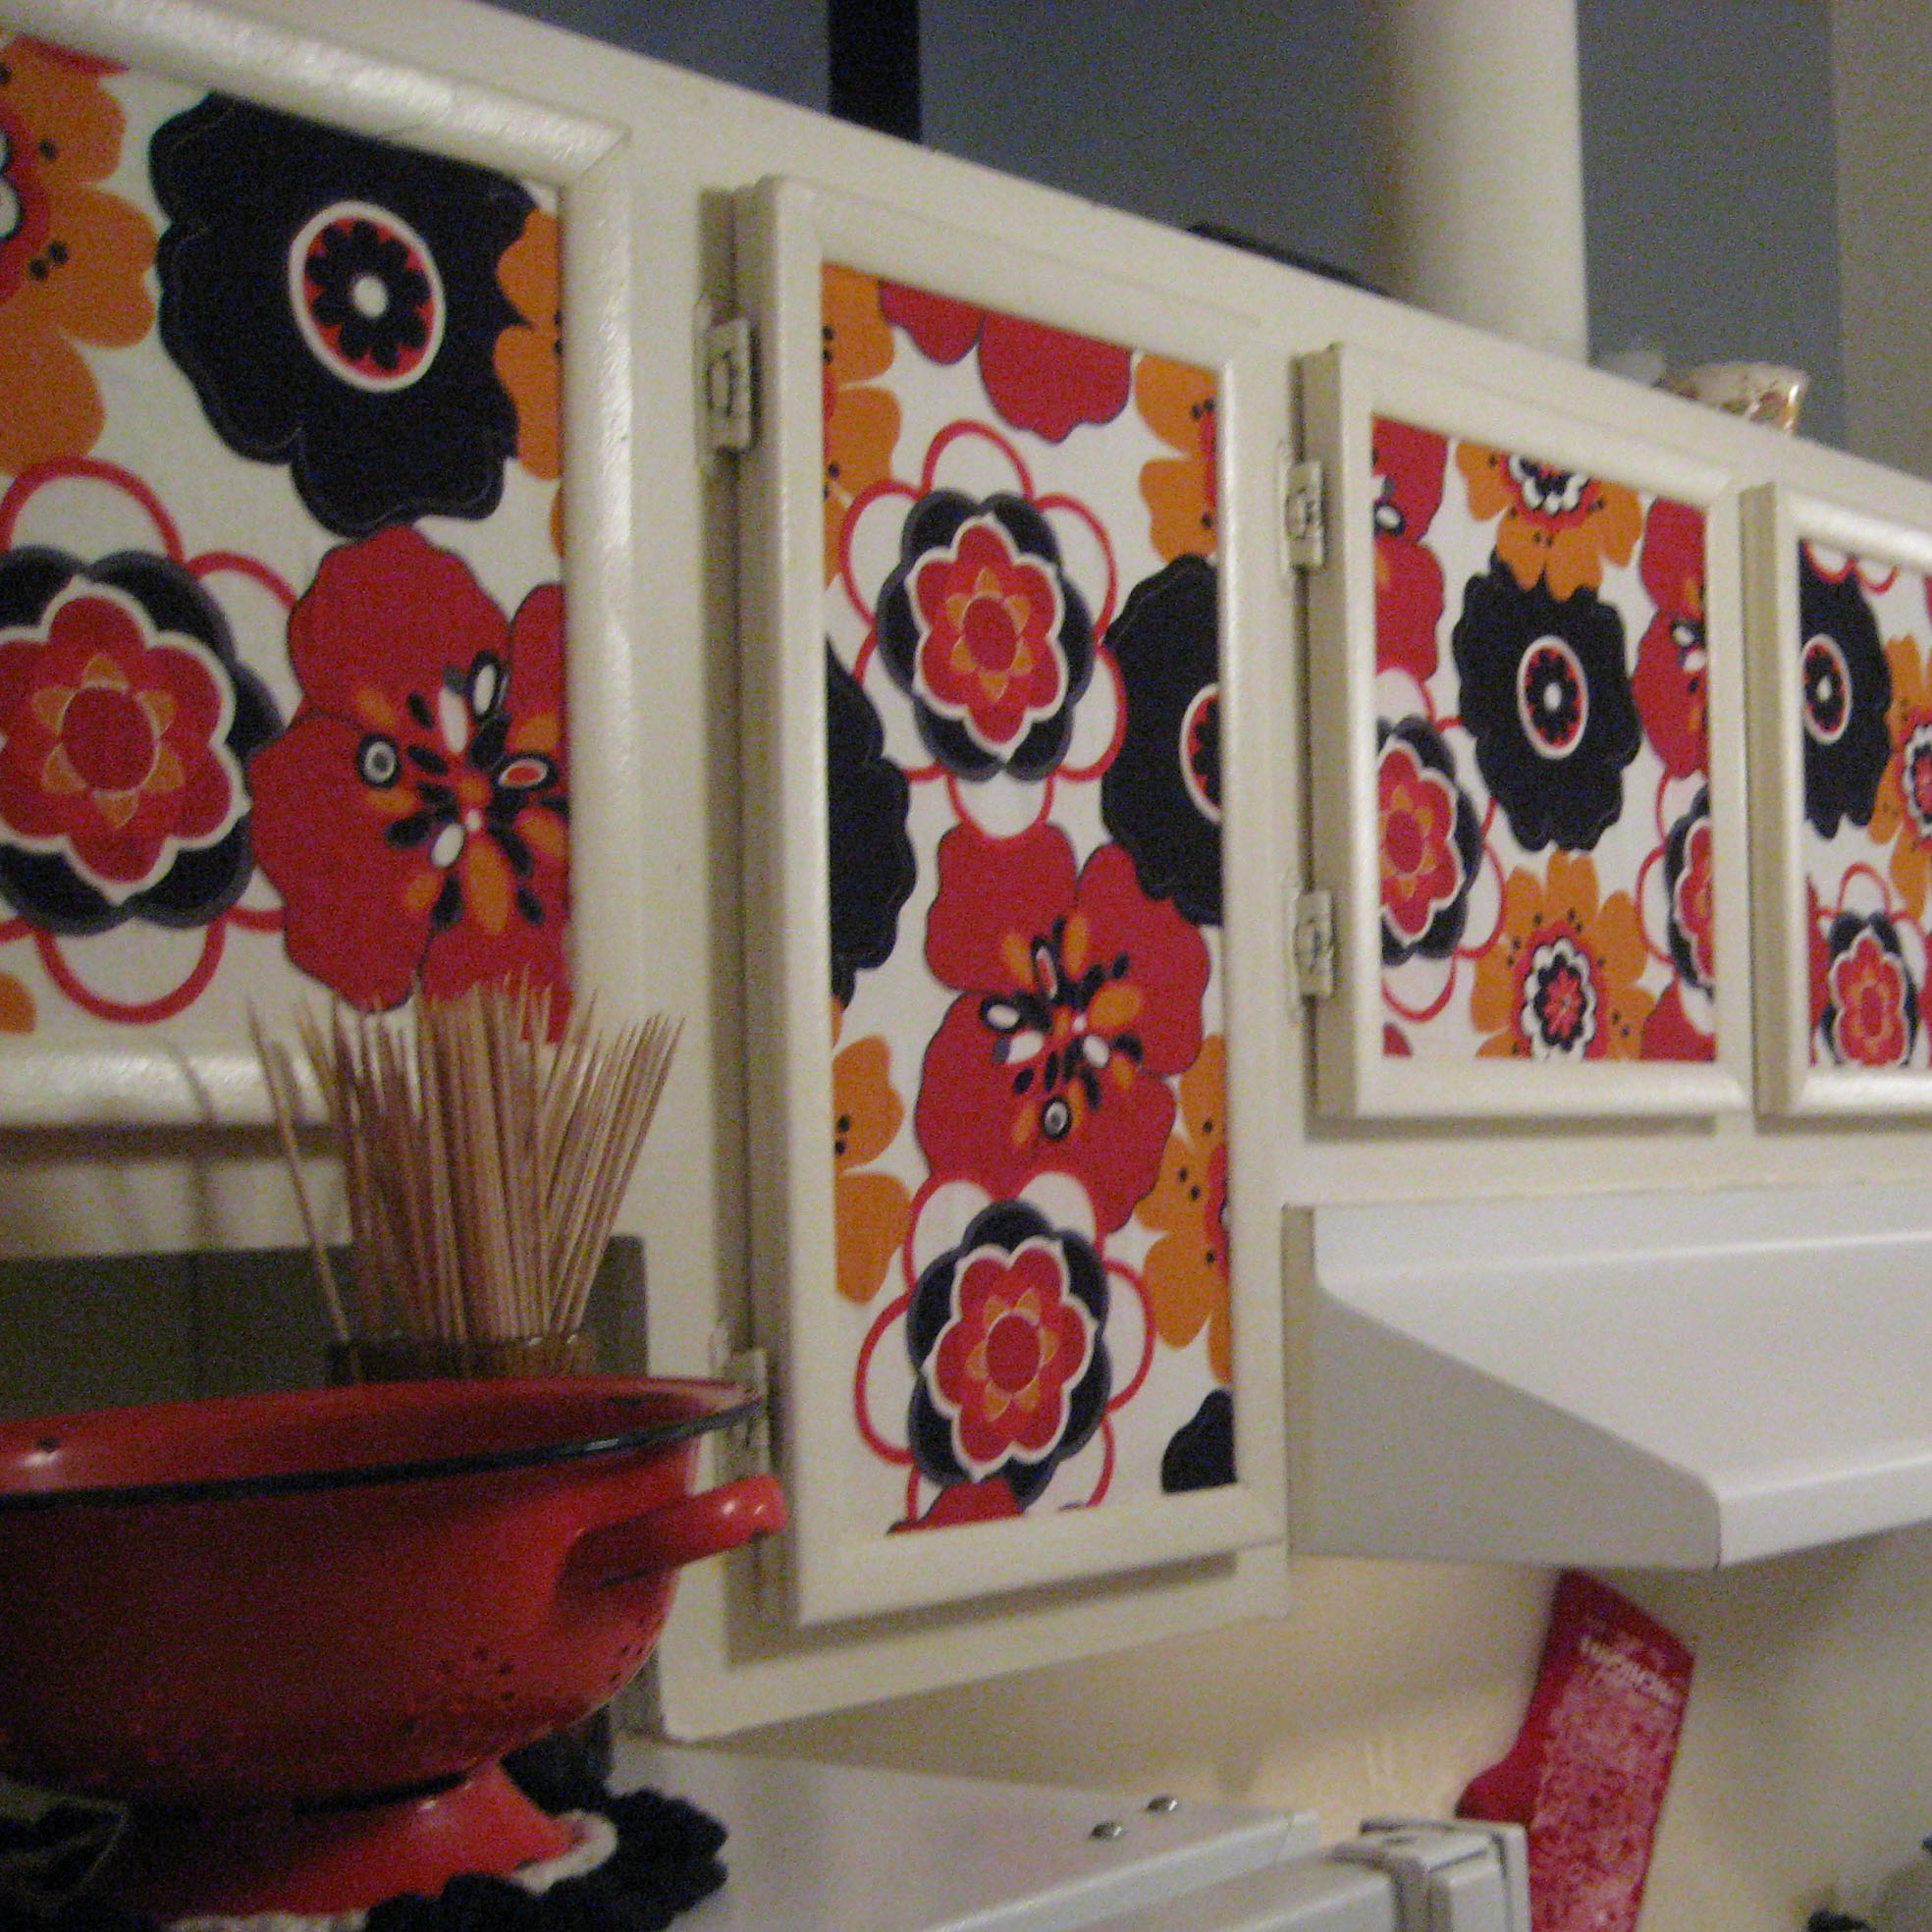
Stand back. Admire your handy work.


And the final touch? My mom’s colander from 1979.

This took me a weekend’s time but if you don’t have kids/meals/craziness you would easily get this done in a day and, again, less than $26. You have no excuses. Get off your butt and fix your kitchen!
:::UPDATE!! ONE YEAR LATER HERE!:::