Valentine’s Day Quilted Headboard

Close Up

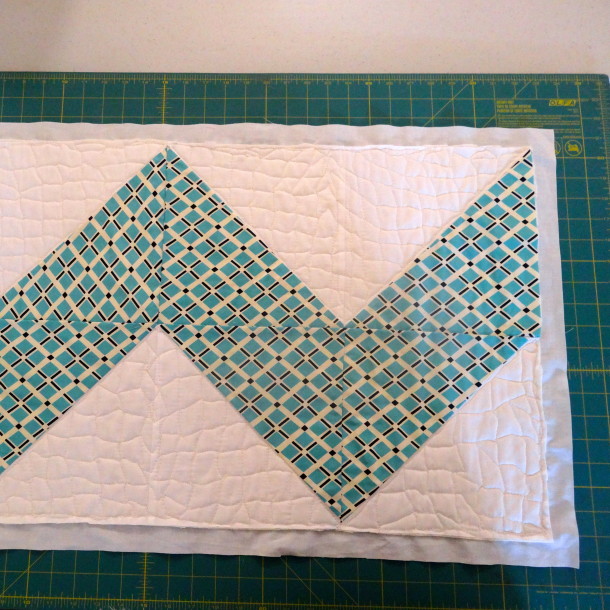
I finished the “headboard” piece in time for Valentine’s Day! I’m really happy with the FMQing and have a better feel for it.

Valentine's Day Bed
Valentine’s Day Bed

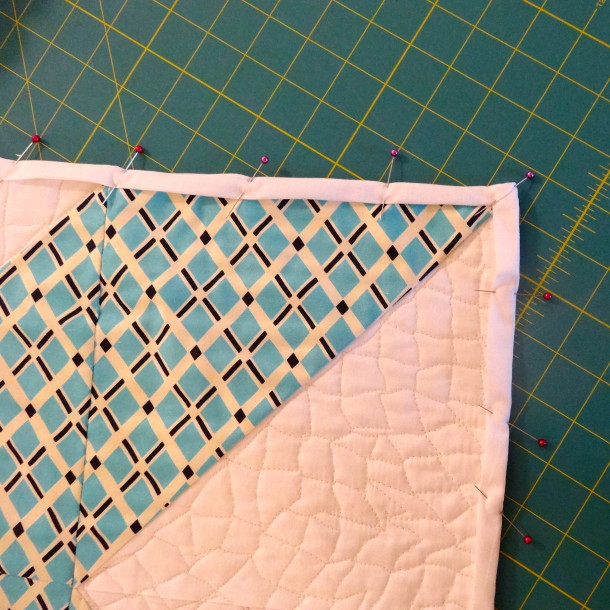
Here’s a better close up of the finish.

Close Up
Close Up

It’s very…uh…organic. Hahaha. But that’s how it goes. Practice, practice, practice. I suppose if I wanted something more homogenized, I wouldn’t be making it myself!

There are certainly things to remember for next time. Like…don’t quilt the binding fabric. I suppose this would be even harder to watch if I didn’t leave enough of the backing fabric in that I could watch it better with the little bit of extra. So, if you’re going to use bias tape, still leave wiggle room when quilting so you can make sure it doesn’t get tucked under like this.

don't FMQ binding
don’t FMQ binding

And once you DO quilt the binding, rip it out, and requilt, don’t go and do it again.

Pay Attention Becky Jo!

I am thick-skulled. I need extra lessons sometimes.

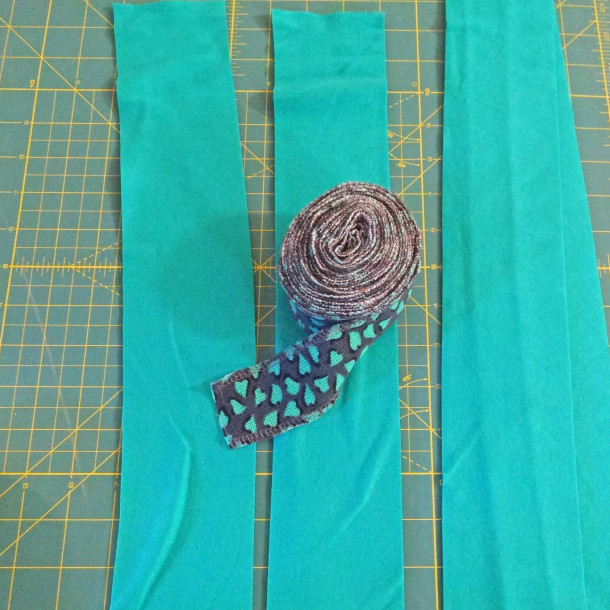
I cut down the backing fabric to 1″ and used it to wrap around for binding.

Backing for Binding
Backing for Binding

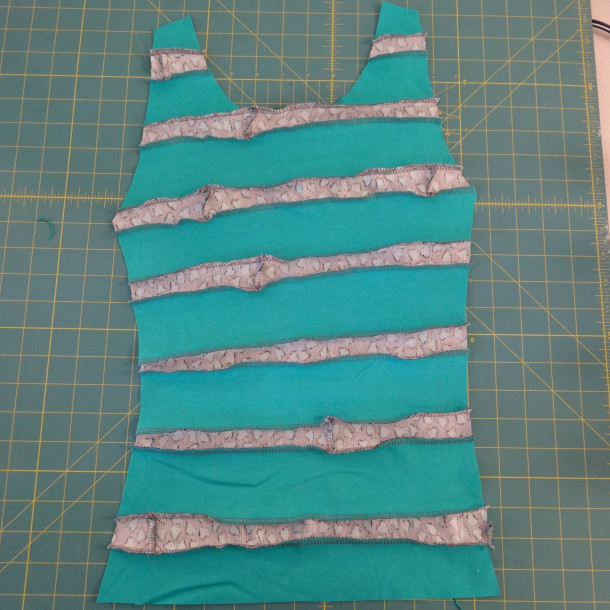
More of my severely right-handed pinning…I try to make them perpendicular, I really do…

Pinning Down the Wrap Around Binding

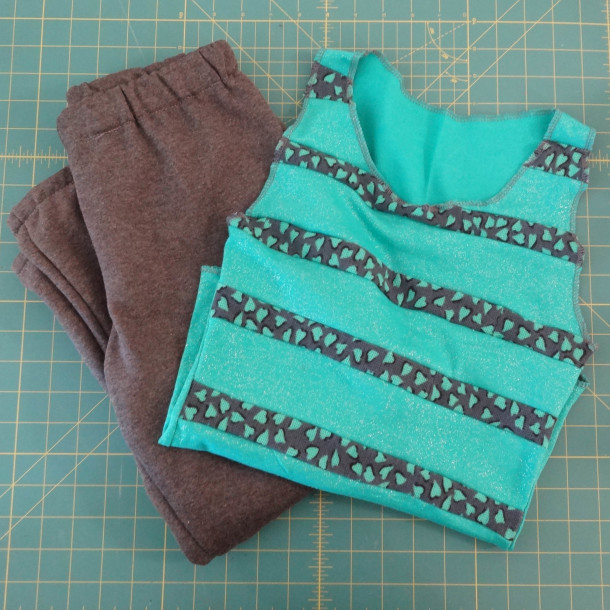
Here it is with some non-Valentine’s Day pillow cases.

Chevron Quilt Headboard

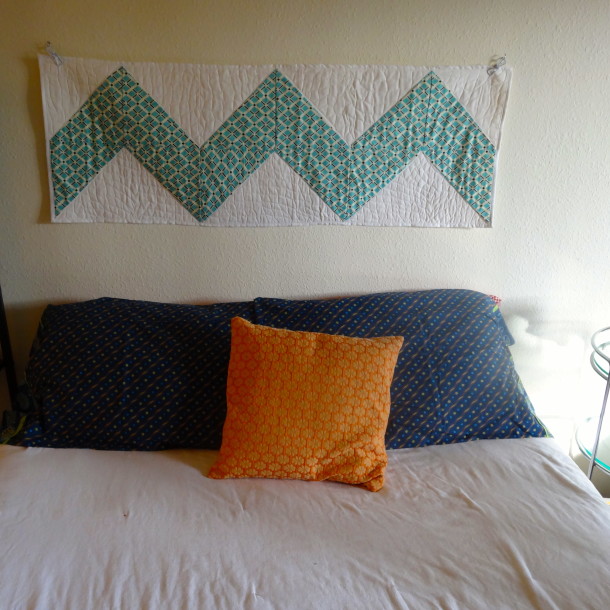
Yeah. I’m really happy with it. It’s about 50 inches wide, so if/when I get tired of it, it would also be a cute table piece…not a full runner, but a good-sized center runner.

If anything, I hope this inspires people who are afraid of the FMQ on their machine. It’s one of those ‘just do it’ things…you have to dig in and go for it. Who cares if it’s a bit wonky, or imperfect? We can go to Target if we wanted perfectly machined, sterile, boringness, but where’s the fun in that? (BTW, I went to Target last night…hahahaha!)

DIY Cheap Baby (Kids) Clothes Series

Boy Pants and Girl Tank

My plan here was to finish up the green sparkle motion fabric and use a remnant of sweatshirt fleece I picked up at Joann’s for some clothes for Hazel and Alex.

Starter Pile
Starter Pile

In the pile above is the remaining bit of green fabric, the rest of the waffle knit heart binding role, a pair of pants made for Alex and the remaining bit from that. The remnant for Alex’s pants was during a 40% off sale, plus the 50% off remnants, so $12.27-40%-50% (obviously not in proper algebraic form) = $3.68 + $1 for elastic = $4.68 for his pants. I used the same Burda pattern I used for the previous Hazel pants, so freebie!

This left the rest of the pile at $0….however, after sewing with the fleece, I found that making a tank for Hazel with it just wasn’t going to happen. It barely has any stretch to it, so there was no way it would work in a knit pullover top.

I didn’t like any of the store-bought patterns for the Hazel top, so I took one of her favorite tank-tops and traced it on some taped-together recycle-pile paper.

Basic French Curve Ruler

I don’t trust my tracing to be without wobbles, so I lined up a vary basic French curve ruler on the curvy parts and used it as my guide. That and I just know I’d get Sharpie on Hazel’s shirt and then she’d hate me forever. I don’t need that kind of stress.

Make Your Own Pattern

Voila! Free pattern! I marked them with the cut-on-fold parts and front/back because I know I’ll be using these again and I’m forgetful.

I didn’t quite have enough green fabric to make the tank (Hazel is a tall one), and I couldn’t use the gray fleece as the stretchy wasn’t there…so I decided to make my own fabric.

Make Your Own Fabric

I cut the green in strips and serged it to matching strips of the green-heart binding until I had enough to fit the pattern.

Ready To Cut
Ready To Cut

I’m playing around with a new camera. Can you tell? hahaha.

Okokok, so after it’s cut, it looks like this….and I’m yet again blessed to have a serger….

Front Cut
Front Cut

I had enough of the green to make the back solid green, and it’s darn cute.

DIY Girl's Tank
DIY Girl’s Tank

I’m leaving the edges raw-serged like this..it’s cute and casual, and the fabric barely has enough stretch. I think if I added a hem, it might just rip out.

I put notes on my pattern for next time to adjust as such:

Add Notes To Pattern

So, with that is the end of the green and grays for awhile. I have a nice pile from this session.

Boy Pants and Girl Tank

Total for both, with the tank being $0 is just the cost of the pants at $4.68.

I’m saving the pile for an outing later this month to *hopefully* get a photo of them in motion and in the Valentine’s Day/Zoe’s birthday spirit!
The Final Pile
The Final Pile

I’m thinking I need a new color theme for the next batch. This was fun, if a little too Pantone-orrific. I can’t imagine Alex would be thrilled with spring pastels….thoughts? Suggestions?

Meanwhile, I’ve got some serious quilting to do, so I have time to think on this series.