I want to prove that I can do better for less than even clearance clothes. I picked up some knit pants and a shirt for Zoe in size 18 months at Fred Meyers (aka Krogers) for the clearance price of $4.97 each…let’s round and say $5. It doesn’t get much cheaper than that and they look it – we’re talking hot pink velour and leopard print, hey-oh!
So I pulled out a pile of knits fabric and scraps including a 1 yard remnant at the Mill End Store for $4.99…again, rounding to $5.

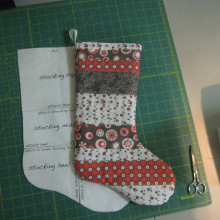
I took an old onesie in the 9 month size to take apart and make an upsized pattern. Now this part is not an original post, per se, nor is saving money without sacrificing quality. I can’t improve on Dana…I don’t really think anyone can…she is the master of the deconstruction process, and my shirt pattern is based off of her pattern tracing and her 90-minute shirt that she posted almost 5 years ago! So, yeah. This is partially inspired by Dana’s hard work and you can either follow her tutorial or buy a pattern. The pants pattern I already have been using for about 9 months.
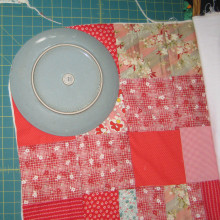
An added bonus of working with knits is that the bolts are ~59 inches wide…so a yard is almost 5 feet by 3 feet! Yatzy! On my first cut, I fit 1 baby shirt and 1 pair of pants.

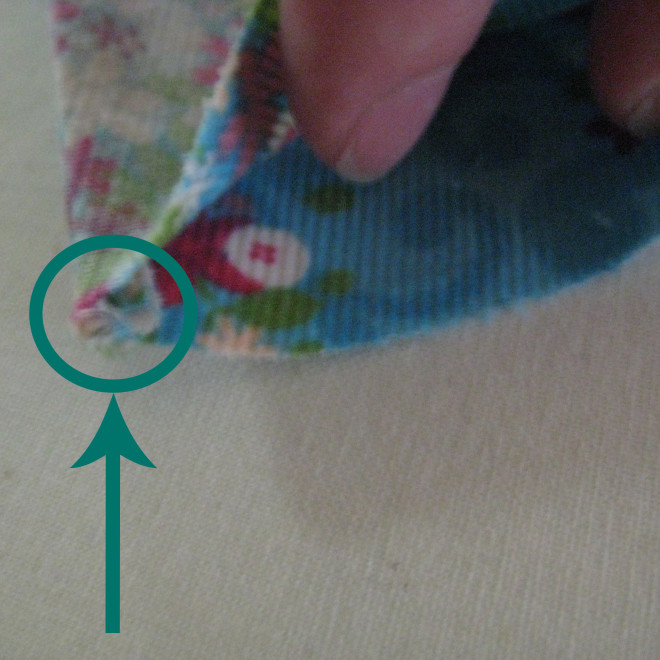
Note I folded in the pants on the side seems as I only need 1/4″ seem allowance – your mileage may vary. I’m also using a serger for most of my knit construction which makes using a 1/4″ seem allowance a LOT easier. On my second cut, I got another full shirt pattern and approximately 5 yards of 2-inch binding strips which I’ll get back to later.

Now, if you’ve read Dana’s tutorial, you’ll know I’m loosely following her instructions. I only want 2″ binding strips; I believe she used 4″ strips and ribbed….this is partially just aesthetic so do what you will. Regarding direction of stretch fabric and cutting, I just try to remember which way I want it to stretch over the head/butt and cut that way. I don’t want to get bogged down into what Creative Gemini has already discussed better in a video here.
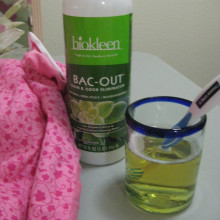
I cut strips from a sparkly greenish fabric from Joann’s and serged the edges in gray. I used 1/4 yard that I got as a remnant for $2.50 when I bought the rest of a bolt.

When I can, I try to sew in what I call “production mode” and sew in groupings such as serge all the binding, sew on all binding, serge all edges that can be serged at once…etc.


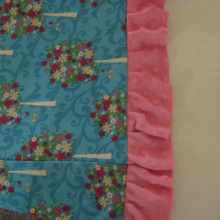
After constructing the shirt, I did the bottom binding last. I increased it to 3″ and pinned it a bit lower to add a bit more length to keep baby belly covered better. I used a sewing machine to sew on the binding and sew in the sleeves as I know how. I’m only adding in photos of the few things I’ve done a bit differently than Dana, but more or less it’s the same as her tutorial. For the pants, I followed the pattern directions albeit altered for serging.

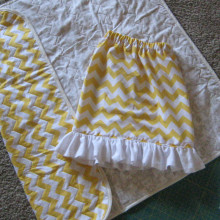
For this project, here’s the final grouping.

Keep in mind that there is a lot of 2 inch binding to use which I will $0-out on a later project. My pants pattern was something like $2-3 a dozen pairs of pants ago, so I’m calling that a wash. I made the Dana tutorial shirt pattern which was free (thank you Dana!)
So, fabric total is $7.50 divided between 3 articles of clothing = $2.50 each
Stay tuned, there will be more. I still have 2 yards of that sparkly, “may crock” fabric, a really bad clearance/remnant bin habit and kids that won’t stop growing. I may even throw in some trendy “upcycling” jargon.
Ok, ok, so the thread is negligible when buying in serger-sized bulk, and my serger happened to be a gift from my awesome mom. My sewing machine was not a gift and is in what is called the mid-price range but I can’t really price machines out or their value as that’s up to the individual user.